

How to make a glass bottle into a flower press?
Oct 14, 2025
Leave a message
A flower press is a wonderful way to preserve the beauty of flowers and create lasting memories. Transforming a glass bottle into a flower press is not only a creative and eco - friendly project but also an excellent way to showcase your love for nature. As a glass bottle supplier, I'm excited to share with you a step - by - step guide on how to turn a glass bottle into a functional and aesthetically pleasing flower press.
Materials Needed
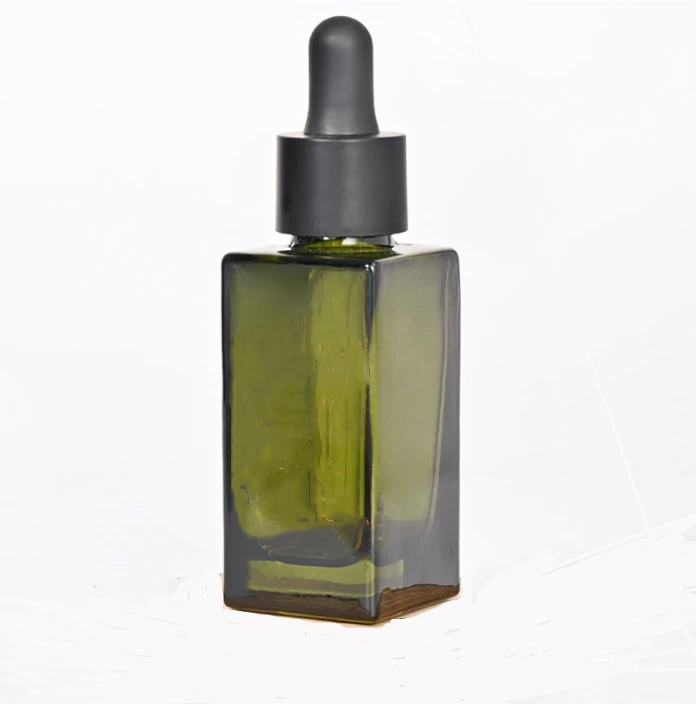
- Glass Bottle: You can choose a variety of glass bottles depending on your preference. A clear glass bottle is ideal as it allows you to see the pressed flowers inside. For a more unique look, you might consider using a Square Oil Dropper Bottle. These bottles come in different sizes and shapes, adding an extra touch of elegance to your flower press.
- Flowers: Select fresh, small - to medium - sized flowers. Delicate flowers like pansies, violets, and forget - me - nots work well. Make sure to pick them at their peak bloom for the best results.
- Absorbent Paper: This can be blotting paper, newspaper, or coffee filters. Absorbent paper helps to draw out the moisture from the flowers during the pressing process.
- Cardboard or Plywood: You'll need two pieces of cardboard or plywood that are slightly larger than the opening of the glass bottle. These will act as the base and the top of the press.
- Rubber Bands or Clamps: To hold the entire press together tightly.
- Scissors or a Utility Knife: For cutting the absorbent paper and any excess parts of the flowers.
Step 1: Prepare the Flowers
The first step is to carefully select and prepare your flowers. Gently remove any leaves, stems, or other unwanted parts from the flowers. You can use scissors to trim the stems to a manageable length. It's important to handle the flowers gently to avoid damaging their delicate petals.
Step 2: Prepare the Absorbent Paper
Cut the absorbent paper into pieces that are large enough to completely cover the flowers. Place a layer of absorbent paper on one of the pieces of cardboard or plywood. Arrange the flowers on top of the paper, making sure they are not overlapping. You can create a single - flower press or arrange multiple flowers in a pattern.
Step 3: Add Another Layer of Absorbent Paper
Cover the flowers with another layer of absorbent paper. This will help to absorb the moisture from the flowers as they are being pressed. The more layers of absorbent paper you use, the better the drying process will be.

Step 4: Place the Cardboard and Glass Bottle
Put the second piece of cardboard or plywood on top of the absorbent paper and flowers. Now, place the glass bottle on top of the cardboard. The weight of the glass bottle will help to press the flowers flat. If the glass bottle is not heavy enough, you can add some small weights on top of it, such as stones or small books.
Step 5: Secure the Press
Use rubber bands or clamps to hold the entire press together tightly. Make sure the rubber bands or clamps are evenly spaced around the edges of the cardboard to ensure uniform pressure. Check that the press is stable and that the flowers are being pressed firmly.
Step 6: Wait for the Flowers to Press
Place the flower press in a dry, warm place. Avoid direct sunlight, as it can cause the colors of the flowers to fade. Check the press every few days to see how the flowers are drying. You may need to change the absorbent paper if it becomes too wet. Depending on the type of flowers and the humidity in the environment, it can take anywhere from one to three weeks for the flowers to be fully pressed.
Step 7: Remove the Pressed Flowers
Once the flowers are completely dry and pressed, carefully remove the rubber bands or clamps. Lift the top piece of cardboard and the layers of absorbent paper. Gently lift the pressed flowers from the paper. You'll be amazed at how beautifully they have been preserved.
Step 8: Display or Use the Pressed Flowers
You can display the pressed flowers inside the glass bottle. You can also use them for various crafts, such as making greeting cards, bookmarks, or framed art. The possibilities are endless.
Tips and Tricks
- Choose the Right Flowers: Some flowers are better suited for pressing than others. Avoid using flowers with thick petals or a lot of moisture, as they may not press well.
- Keep the Press Clean: Make sure the glass bottle and the cardboard are clean before you start the pressing process. This will prevent any dirt or debris from getting on the flowers.
- Be Patient: Pressing flowers takes time. Don't rush the process, as it can affect the quality of the final result.
Advantages of Using Glass Bottles for Flower Pressing
- Aesthetic Appeal: Glass bottles add a unique and elegant look to the pressed flowers. They can be used as a decorative item in your home or office.
- Reusability: Glass bottles are reusable. Once you have used a glass bottle for one flower press, you can easily clean it and use it again for another project.
- Environmentally Friendly: By repurposing a glass bottle, you are reducing waste and contributing to a more sustainable environment.
As a Glass Bottle Supplier
As a glass bottle supplier, I understand the importance of providing high - quality products for various applications. Our glass bottles are made from high - grade glass, which is durable and resistant to breakage. They come in a wide range of sizes and shapes to meet your specific needs. Whether you are a hobbyist looking to create your own flower presses or a professional in the floral industry, we have the right glass bottles for you.
If you are interested in purchasing glass bottles for your flower pressing projects or other purposes, please feel free to contact us. We offer competitive prices and excellent customer service. Our team of experts is always ready to assist you in finding the perfect glass bottles for your requirements.
Conclusion
Transforming a glass bottle into a flower press is a fun and rewarding project. It allows you to preserve the beauty of nature and create unique decorative items. By following the steps outlined in this guide, you can easily create your own flower press using a glass bottle. And as a glass bottle supplier, I'm here to provide you with the best - quality glass bottles for all your needs. So, why not start your flower - pressing journey today?
References
- "The Complete Guide to Flower Pressing" by Jane Smith
- "Flower Crafts and Decorations" by John Doe
- Online resources on flower pressing techniques and glass bottle uses