

How do you seal a bottle with a plastic cap properly?
Sep 12, 2025
Leave a message
Hey there! As a plastic cap supplier, I've seen firsthand how crucial it is to seal a bottle with a plastic cap properly. Whether you're a small business owner looking to package your products or just someone who wants to keep their homemade concoctions fresh, getting the sealing right is super important. In this blog, I'll share some tips and tricks on how to do it like a pro.
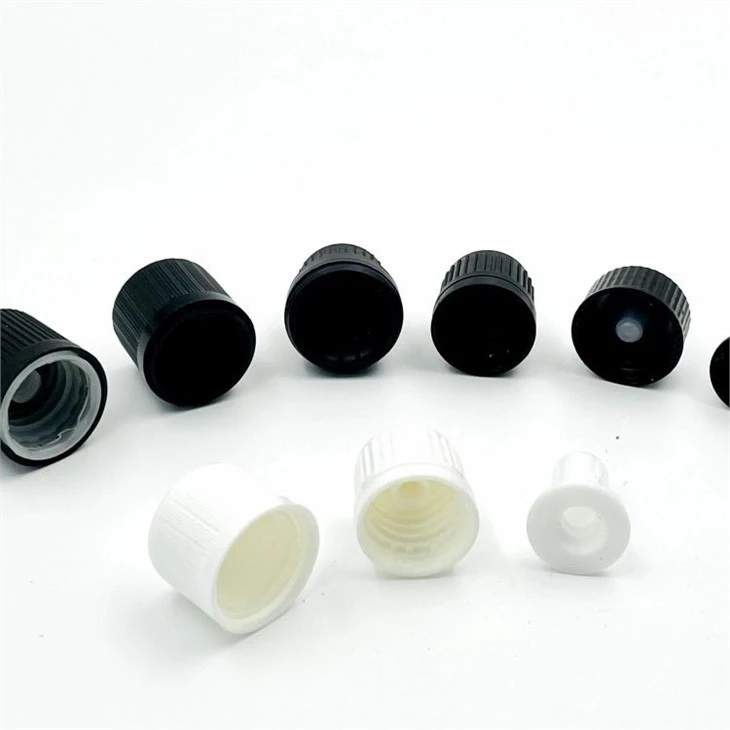
First things first, let's talk about the types of plastic caps available. There are various kinds, each designed for different purposes. For instance, there are the basic screw - on caps that you see on most water bottles. These are great for everyday use and are relatively easy to seal. Then, there are the snap - on caps, which provide a quick and simple way to close a bottle. They're often used for things like condiment bottles. And if you're concerned about safety, especially when it comes to products that shouldn't be accessed by children, you might want to consider the Plastic Child Proof Cap. These caps have special mechanisms that require a bit of a "trick" to open, adding an extra layer of protection.
Now, let's get into the actual process of sealing a bottle with a plastic cap.
Pre - sealing Checks
Before you even think about putting the cap on, you need to make sure the bottle and the cap are in good condition. Check the bottle's opening for any cracks or rough edges. If there are, it might be difficult to get a proper seal, and it could even damage the cap. Also, look at the cap itself. Ensure that the threads (if it's a screw - on cap) are intact and not stripped. A damaged cap won't be able to create a tight seal.
Cleaning
It's essential to clean both the bottle and the cap before sealing. Any dirt, debris, or residue can prevent a proper seal. You can use warm, soapy water to clean them. Make sure to rinse thoroughly and dry completely. A wet bottle or cap can lead to moisture being trapped inside, which can cause spoilage of the contents over time.
Screw - on Caps
If you're using a screw - on cap, start by aligning the threads on the cap with the threads on the bottle. You can do this by holding the cap directly over the bottle opening and gently turning it until you feel the threads start to engage. Once they're lined up, start turning the cap clockwise. You don't need to use excessive force at first. Just turn it until it's snug. Then, give it a final, firm turn to make sure it's tightly sealed. But be careful not to over - tighten, as this can damage the threads or even crack the bottle.
Snap - on Caps
For snap - on caps, place the cap directly over the bottle opening. Make sure it's centered. Then, press down firmly on the cap. You should hear a "snap" sound, which indicates that the cap has locked into place. If you don't hear the snap, it might not be properly sealed. Try pressing down again, making sure to apply even pressure around the edges of the cap.
Using a Sealing Tool
In some cases, especially for larger or more industrial - type bottles, you might want to use a sealing tool. These tools can provide a more consistent and reliable seal. For example, there are manual capping machines that you can use to screw on caps. They allow you to control the amount of torque applied, ensuring that the cap is tightened to the right level.

Storage
Once you've sealed the bottle, how you store it also matters. Store the bottle in a cool, dry place. Extreme temperatures can cause the plastic to expand or contract, which might affect the seal. If you're storing multiple bottles, make sure they're not stacked in a way that puts too much pressure on the caps.
Testing the Seal
After sealing the bottle, it's a good idea to test the seal. You can do this by gently squeezing the bottle. If you see any liquid leaking out or if you feel air escaping, then the seal isn't tight enough. You'll need to remove the cap, check for any issues, and try sealing it again.
Dealing with Different Bottle Shapes and Sizes
Not all bottles are created equal. Some have unique shapes or sizes, which can make sealing a bit more challenging. For irregularly shaped bottles, you might need to find a cap that's specifically designed to fit. You can work with a plastic cap supplier (like me!) to find the right solution. We can offer custom - made caps if needed.
Tips for Long - term Sealing
If you're looking to seal a bottle for an extended period, there are a few extra steps you can take. You can use a sealing film or tape around the cap and the bottle opening. This can provide an additional barrier against air and moisture. Also, consider using a desiccant packet inside the bottle if the contents are sensitive to moisture.
In conclusion, sealing a bottle with a plastic cap properly is a combination of preparation, technique, and attention to detail. By following these steps, you can ensure that your products stay fresh and secure.
If you're in the market for high - quality plastic caps, whether it's the basic screw - on caps, snap - on caps, or the Plastic Child Proof Cap, I'd love to help. As a plastic cap supplier, I have a wide range of options to meet your needs. Reach out to me if you want to discuss your requirements and start a procurement process. Let's work together to get the best caps for your bottles!
References
- "Plastic Packaging Handbook" - A comprehensive guide on plastic packaging materials and techniques.
- Industry research on plastic cap manufacturing and sealing best practices.